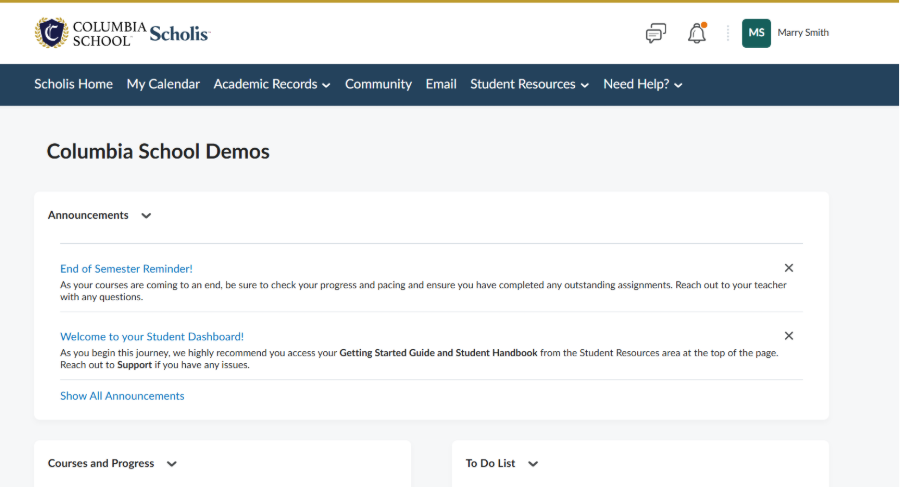
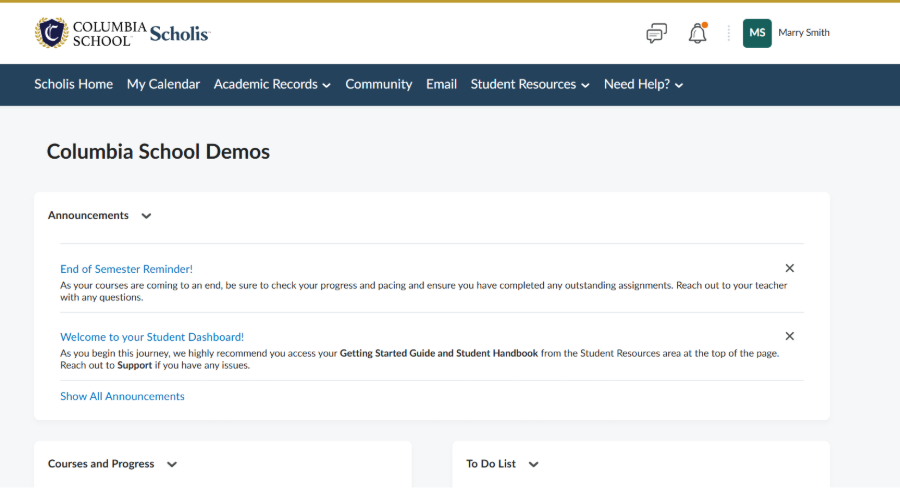
The student will access the email tool by clicking on the "Email" tool from the top blue ribbon. Please see below:

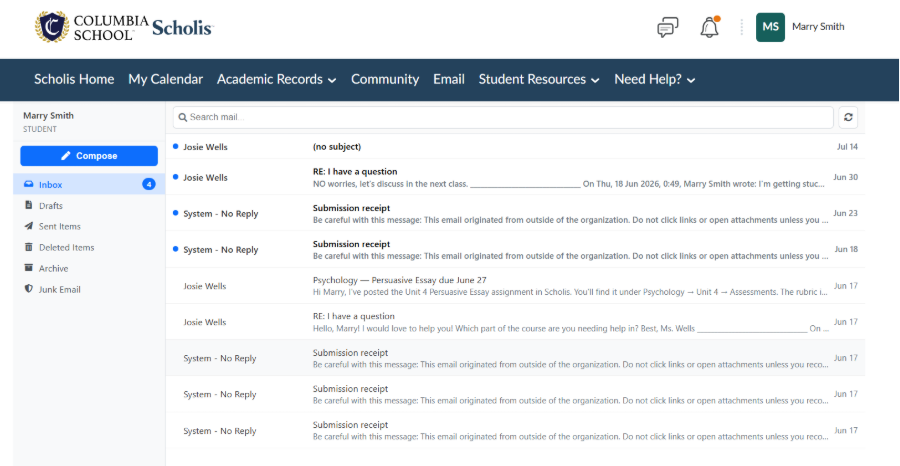
The student is now in the Scholis mailbox. Here, the student can read emails by hovering over and clicking on the subject line of a received email, and reply if desired:
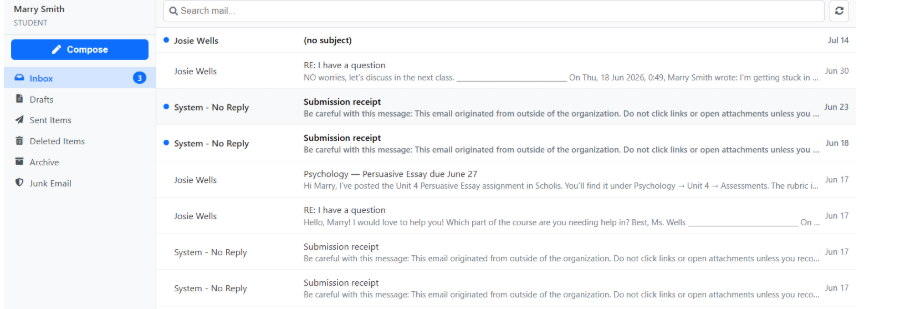
The student will read the email and can reply to the sender. Be careful not to reply to a "NoReply" sender. Those types of sender mailboxes (generally automated emails) are not monitored.
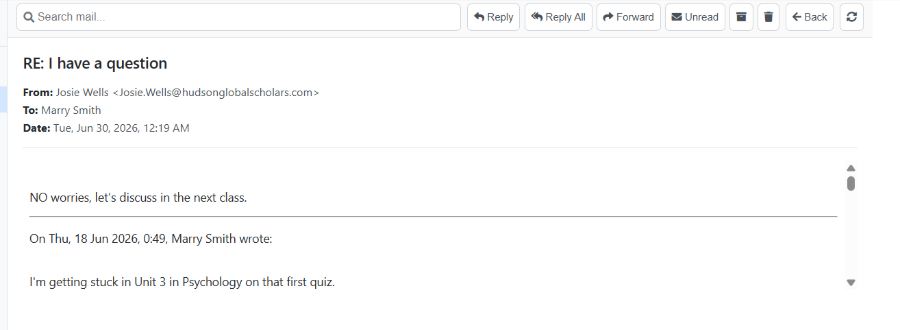
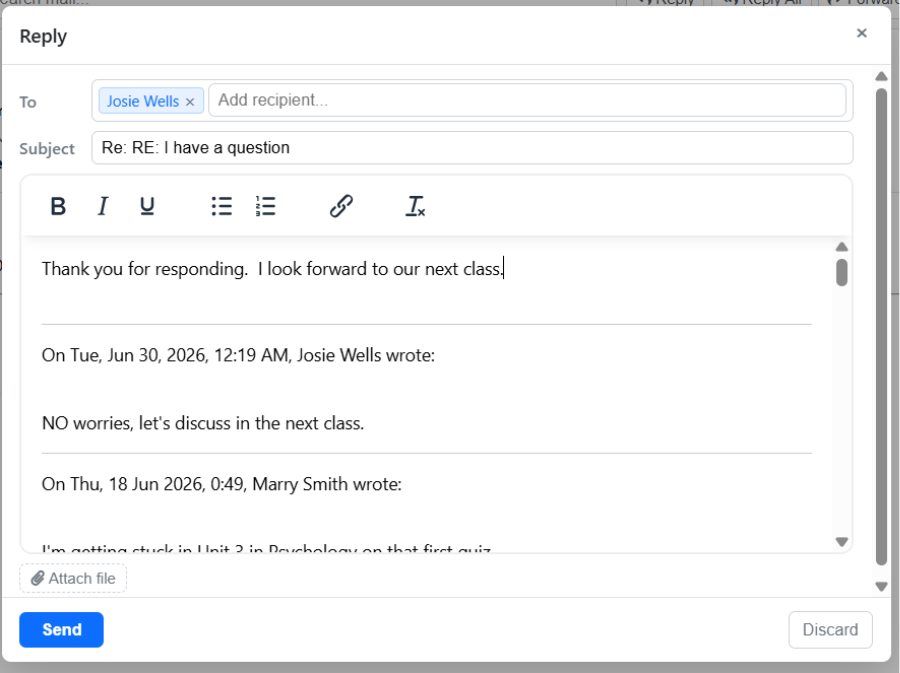
The student will click on "Reply," type the response in the text box, and click "Send."
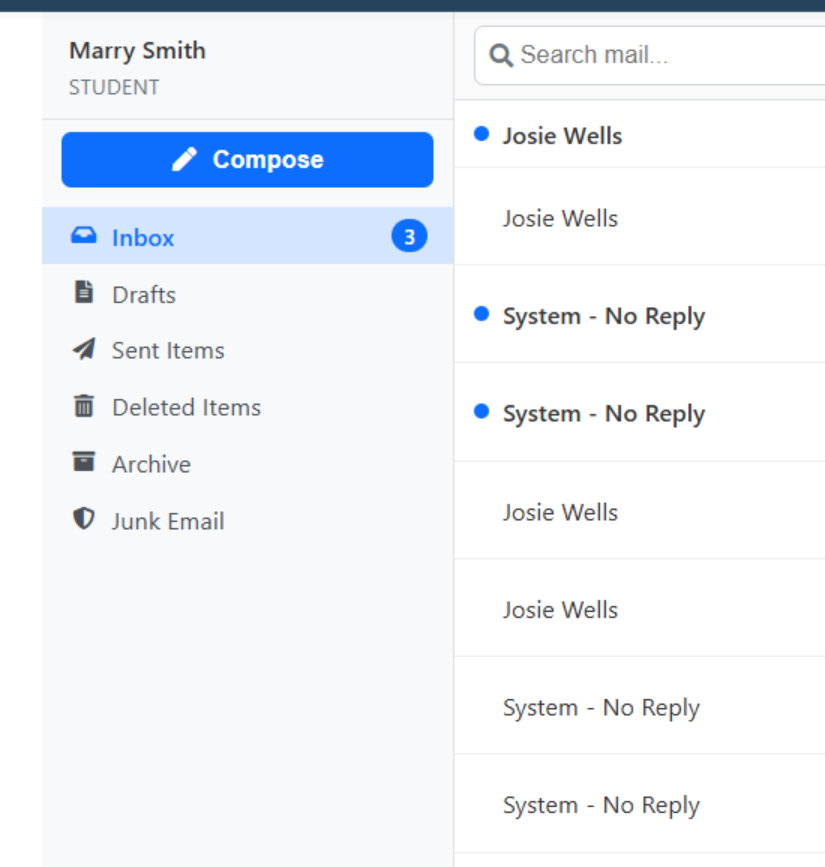
The student may also compose a new email and send it to an instructor by clicking on "Compose."
After clicking "Compose," a new window will appear. The student will choose the desired recipient of the email from the drop-down menu.
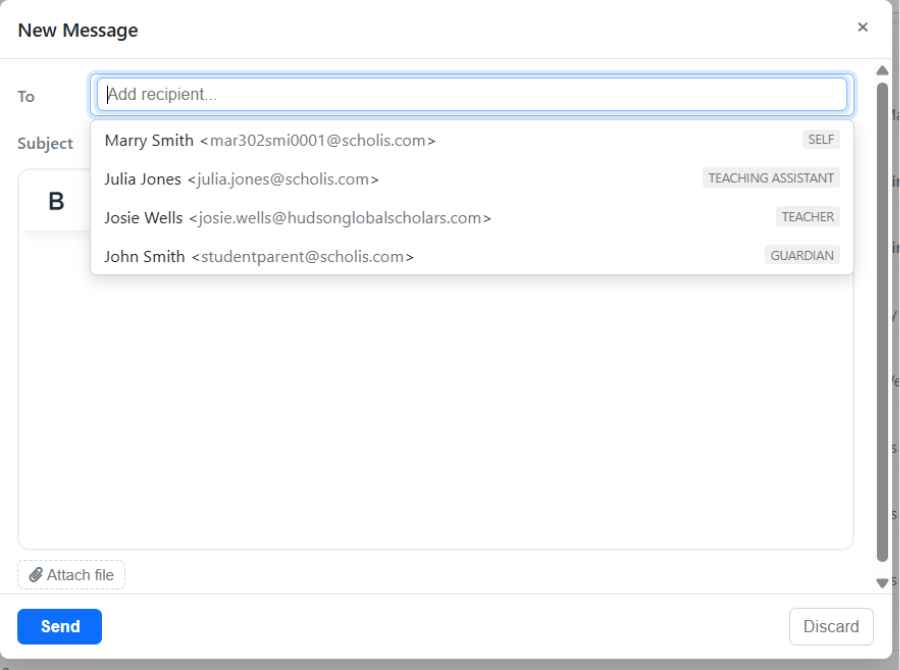
The student will compose the body of the email in the text box and click "Send."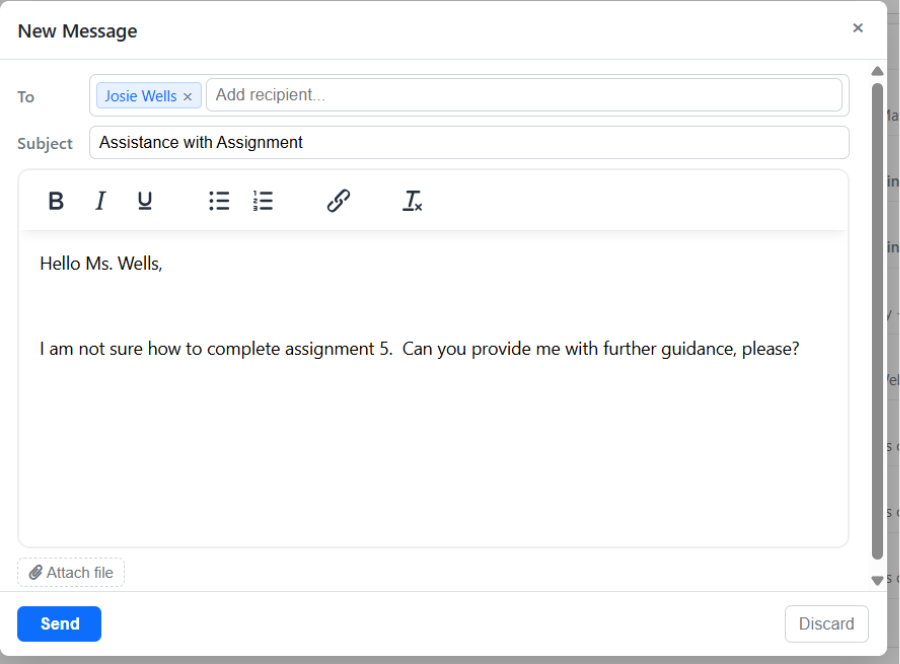
The student will be able to see the sent email by clicking on "Sent Items."

The student can also check "Drafts" (for emails started but not yet sent), "Sent Items" (for emails previously sent), "Deleted Items," and review "Archived Items" or "Junk Email."