Getting Started
The Calendar page is your one-stop hub for keeping track of everything happening in all of your courses. From here you can see upcoming due dates and events at a glance, add your own events for the class, bring in events from an outside file, fine-tune how your calendar looks and behaves, and even share a live feed of it with apps like Outlook or Google Calendar. Work through the steps below to get comfortable with each part of the page.
Step 1: Choose Your Calendar View
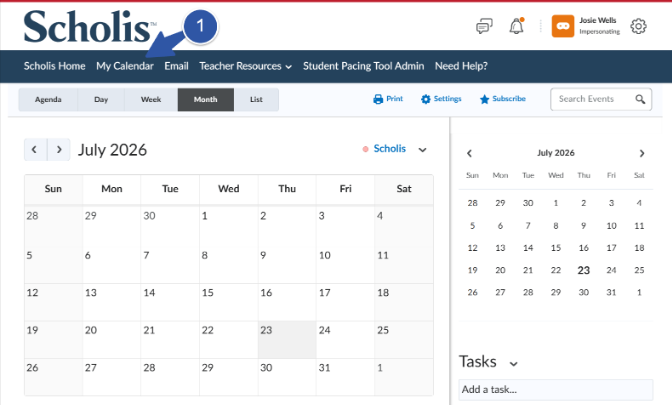
The Calendar offers five different ways to look at your course schedule. Pick whichever view makes it easiest for you to see what’s coming up.
- Agenda – shows a simple list of your upcoming events and due dates.
- Day – shows a single day in detail.
- Week – shows the full week at a glance.
- Month – shows the whole month in a grid view (the default view).
- List – shows every item in a sortable list that you can filter by type.
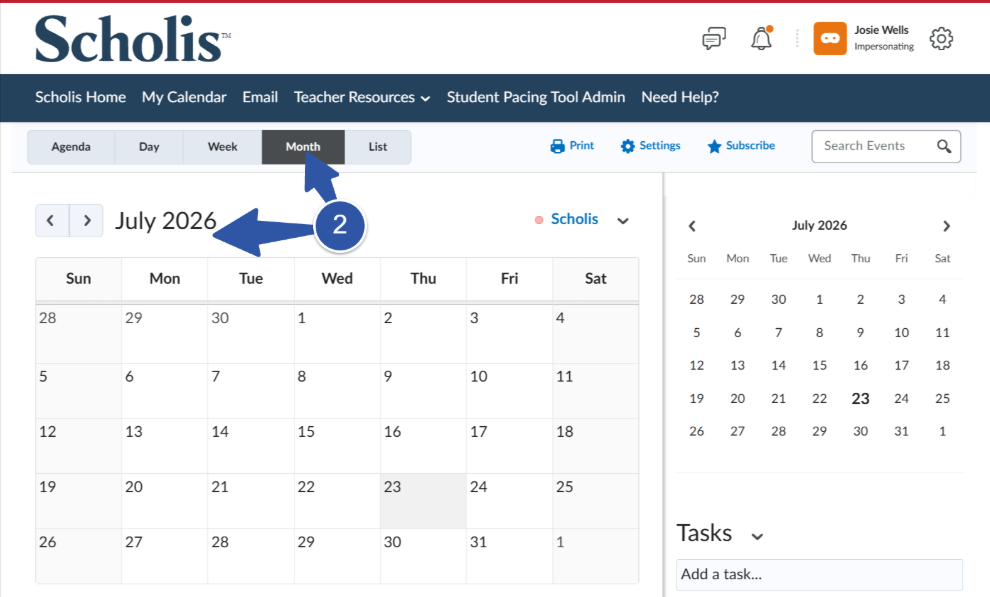
- Click the arrows next to the date heading to move to the previous or next period.
- Click a date on the mini calendar in the right-hand panel to jump straight to that day.
Tip: You can switch views at any time by clicking a different button in the toolbar — your events and tasks stay the same no matter which view you choose.
Step 2: Navigate to a Different Date
Once you’ve chosen a view, you’ll want to move around the calendar to find a specific day, week, or month.
Note: The mini calendar marks days that have events with a small dot underneath the date.
Step 3: Select each course to view calendars
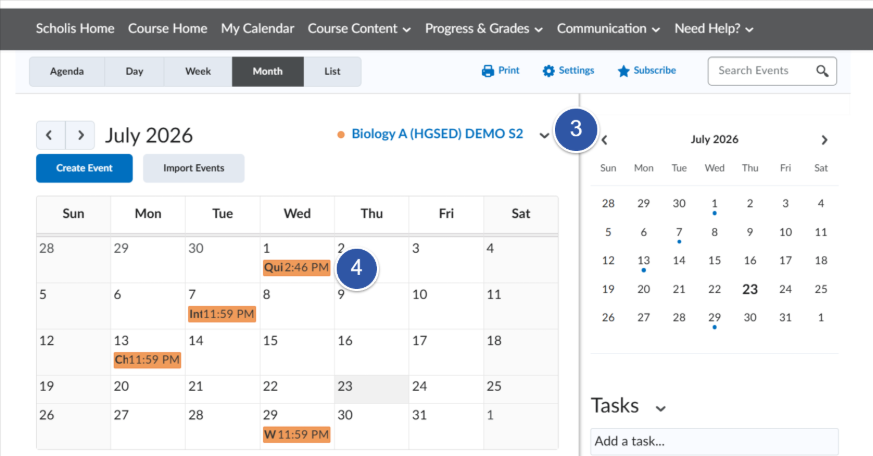
- Select the dropdown arrow
- Select the course title
- View the events for this specific course
- Select the event
- Click on “more”
- You will see the details of the assignment due for this course based on pacing schedule.
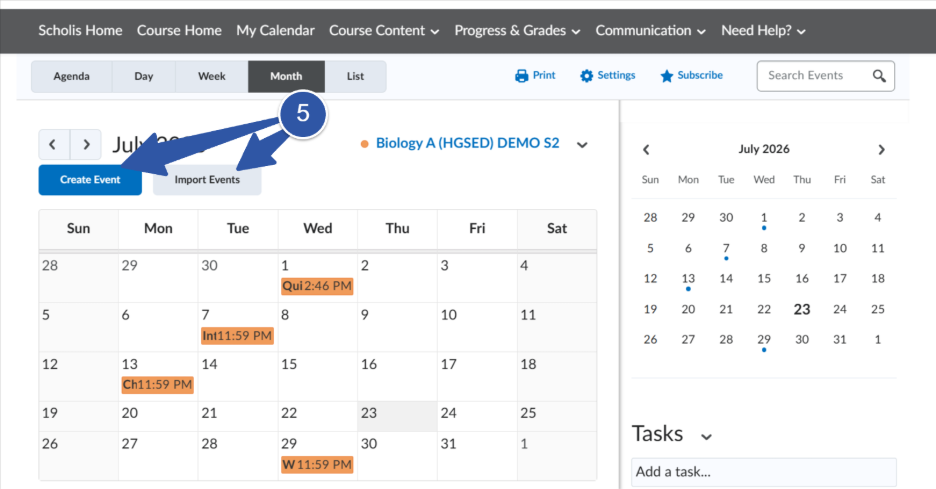
- Click Create Event.
- Enter a title for your event, and add a description if you’d like using the text editor provided.
- Choose who the event is for under Attendees — select Everybody in the Course Offering, or click Add Groups/Sections to target specific groups or sections.
- Set the date and time under When, or check All day if it runs the whole day. Use Add Recurrence for a repeating event or Add Restriction to limit when it’s visible.
- Add a Location if needed, then click Create to save the event.
- Click Import Events.
- Choose who should see the imported events under Attendees.
- Click Choose File and select the iCal file from your computer.
- Click Import to add the events to your calendar.
Step 4: Select event on calendar to view details
Step 5: Create a New Event or Import Events from a File
Create a New Event: Need to add a class activity, reminder, or deadline to the calendar? Creating an event only takes a minute.
Important: Double-check the date and time before you click Create — the event is added to the calendar right away.
Import Events from a File: If you already have events saved in an iCal file, you can bring them into your course calendar instead of entering them one by one.
Note: Only files in iCal (.ics) format can be imported.
Step 6: Adjust Your Calendar Settings
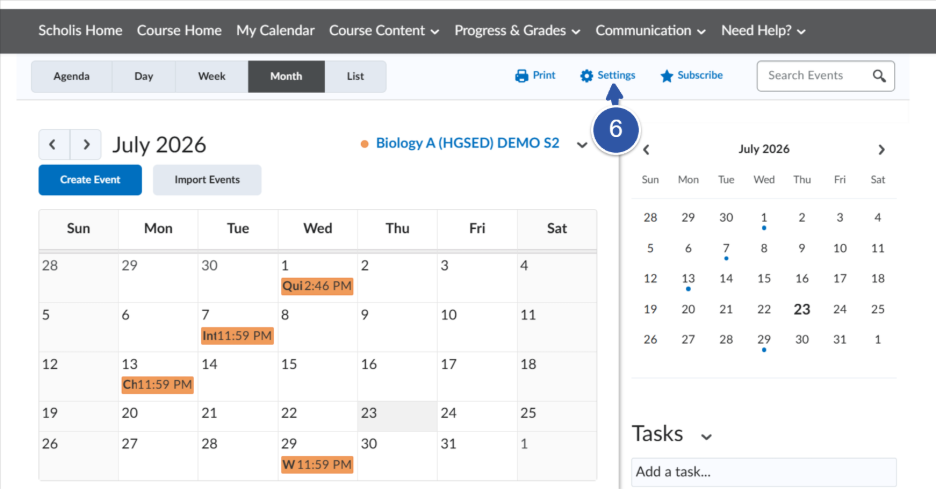
Click Settings to customize how your calendar looks and behaves. You’ll find options such as:
- Core Hours – set the start and end time shown for each day.
- Show weekends – turn Saturday and Sunday on or off in your calendar view.
- Default Event Duration – choose how long a new event lasts by default.
- Enable Calendar Feeds – turn on the private address used for subscribing to your calendar.
- Completed Tasks – choose whether finished tasks stay visible or are hidden.
- Upcoming Tasks Default Duration – choose how far ahead upcoming tasks are shown.
When you’re finished, click Save to apply your changes, or Cancel to leave everything as it was.
Step 7: Subscribe to Your Calendar Feed
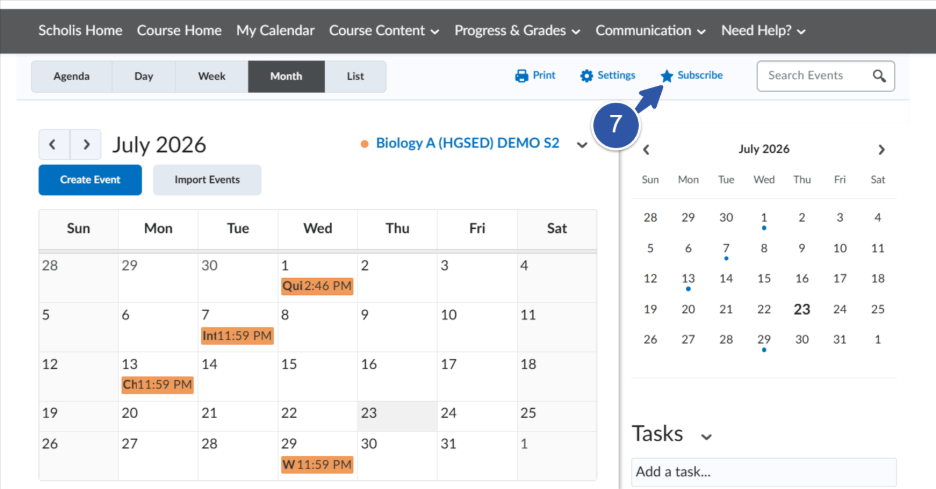
Subscribing lets you, or your students, see this course calendar inside an outside app like Outlook or Google Calendar, and it stays up to date automatically.
- Click Subscribe.
- Choose which calendar to subscribe to from the dropdown, such as All Calendars and Tasks.
- Copy the address shown and paste it into your external calendar app, or click Download to save an .ics file instead.
- Click Close when you’re done.
Tip: If your calendar address is ever shared by mistake, click Reset in this same window to generate a new private address.
Step 8: Search and Filter Events
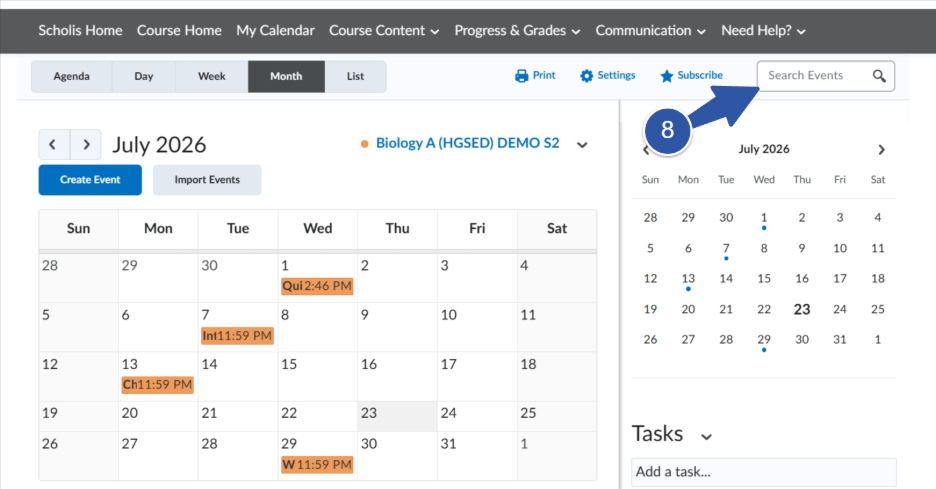
Looking for something specific? The Calendar makes it easy to narrow things down.
- Type keywords into the Search Events box in the toolbar to find a specific event.
- In Agenda or List view, use the Filter By options — Assignments, Checklists, Discussions, Events, Grades, Materials, Modules, Quizzes, and Surveys — to show only the item types you care about.
Note: Filter By options only appear in Agenda and List view.
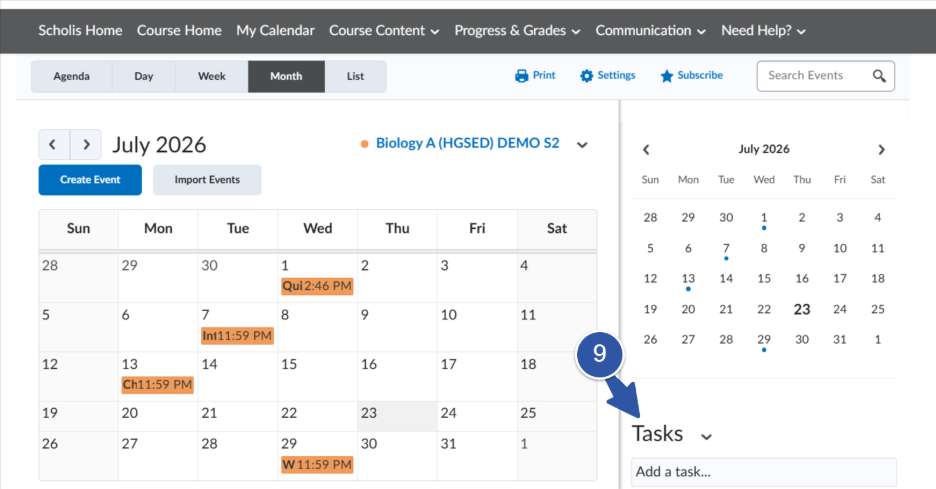
Step 9: Keep Track of Personal Tasks
The Tasks panel on the right side of the page lets you jot down your own to-dos alongside the course calendar. Type a task into the Add a task box and press Enter to add it to your list, and click the arrow next to Tasks to expand or collapse the panel.
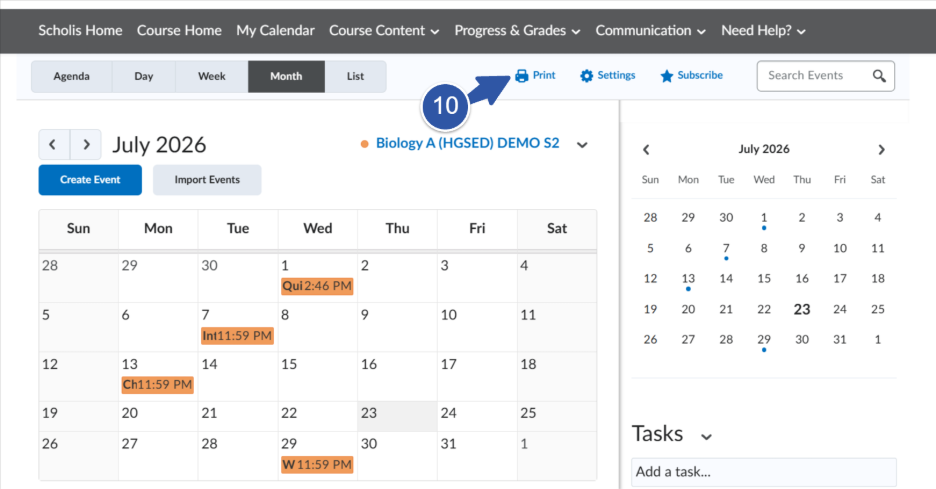
Step 10: Print Your Calendar
Need a paper copy for your desk or a meeting? Click Print in the toolbar to print whichever view you currently have open.